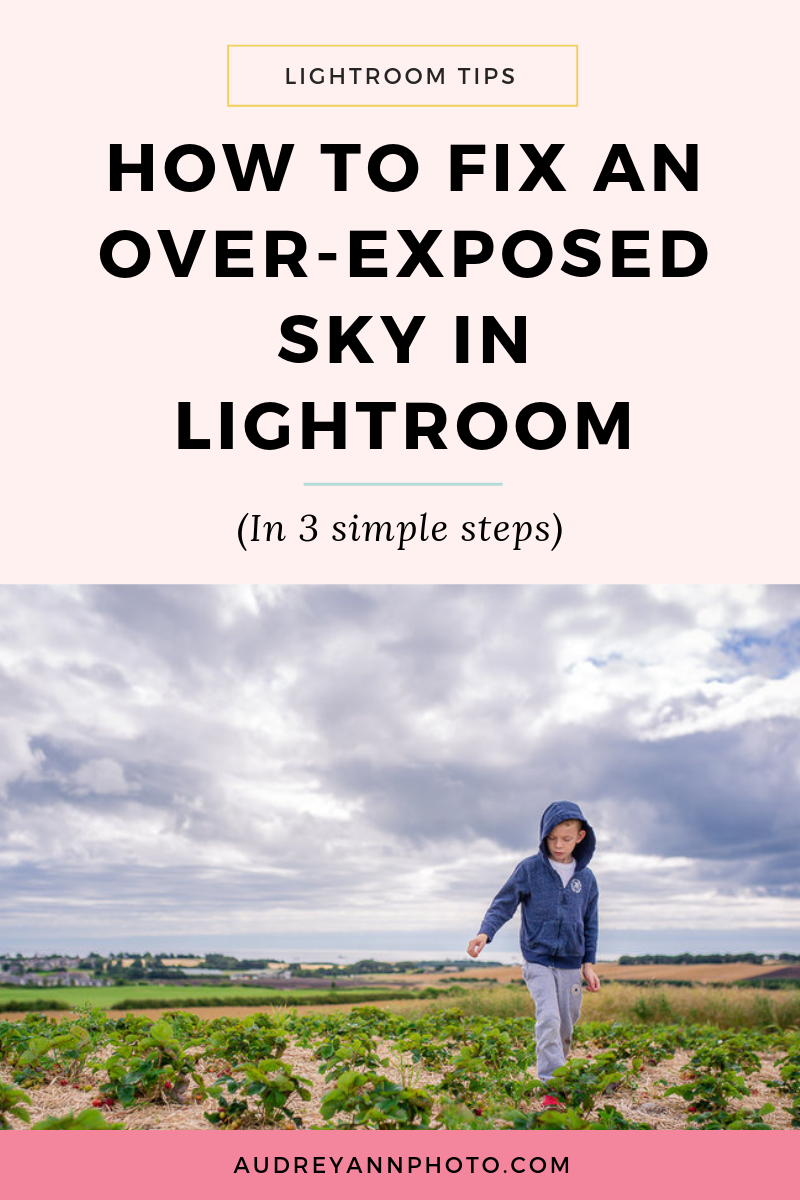
How to Fix an Overexposed Sky in Lightroom (in 3 simple steps)
We’ve all done it - taken a picture where we’ve overexposed the sky, either by accident or to try to ensure our subject is correctly exposed. But, fret not, as you can quickly and easily fix an overexposed sky in Lightroom - and in just three (or even two!) simple steps….
And that’s exactly what I’m going to show you how to do today!
Two important points to note here:
1) Shoot in RAW.
I shot in RAW, and I strongly recommend that you do the same! Shooting in RAW instead of JPEG gives you more leeway when it comes to bringing back lost details in your image, so I highly, highly recommend doing this. (Not sure about how to switch to RAW? Read this!)
2) You need some detail in the sky
There was still some recoverable detail in the highlights to bring back - if you have completely blown out the sky (or any other part of your image for that matter) you simply won’t be able to bring it back - you can’t bring back what wasn’t there to begin with. Now, that doesn’t mean you won’t get any detail back, you might, but in cases like that, you might want to consider taking the image into Photoshop and replacing the sky. Just another option for you!
So, with those two important notes out of the way, let’s dive into how to fix your overexposed sky in Lightroom!
So, here’s the “before” photo that we are going to fix the sky on.
Step One: Bring Down the Highlights and Whites
If the sky in your image is blown out, then you’ve basically “clipped” the highlights and whites in your image, so our first step in just to simply pull those down using the sliders in the basic panel.
Now, word of warning here, the basic panel provides a GLOBAL adjustment, which means it affects the entire image, so keep an eye on the rest of your image, and don’t make your subject’s skin (or any other elements) look grey and unappealing just to fix the sky, as we can get more detailed in step three if need be.
Here’s my image after pulling down the whites and highlights.
Step Two: Darken the blues in the HSL Panel
Now, move on down to the HSL Panel, and click on Luminence.
Go to the blue slider, and pull that down to the left. What this is doing is pulling down the brightness of the blues in your image. Again, beware, this is a GLOBAL adjustment, so it will bring down the rest of the blues in your image, so always keep one eye on the rest of your image as you do this.
Again, here’s the image with the blues darkened - you can see that we have gotten way more detail back into the sky. Whoo hoo!
Step Three (Optional) Use the graduated filter
This step is useful if you couldn’t quite bring down the highlights and whites as much as you wanted to in the basic panel, because it affected the rest of your image too much.
Head to the Graduated Filter, and reduce the highlights and whites there. Then click with your mouse and pull down (you can brush this off your subject if it goes over it like it does with this one)
This allows you to bring down the brightness JUST in the sky, and it won’t affect the rest of the image. (I didn’t need to do this for this image, so I didn’t use this step, but it’s there if you need it!)
Of course, although you’ve fixed the problem, you still have to go on to edit the rest of your image - doing all the other things to make your image shine! Give a read of this post “How to Edit Your Photos in Lightroom” if you need a bit o’ help with the next steps.
(If you’re not 100% sure what those edits should be, then be sure to grab my FREE Lightroom Starter Kit! You’ll get a editing checklist that goes through this step by step - plus you’ll get a guide to importing and an exporting cheat sheet! And it’s totally freeeeeee!)
So after I’ve completed all my other edits in Lightroom, here’s my final image:
And all three together - before, after adjustments for sky, and after the full edit.
As you can see, it’s pretty easy to bring back an overexposed sky in Lightroom, and it really don’t take too long!
This is just one teeny tiny portion of your editing process, so if you want to know the rest, be sure to check out our step by step program, Edit Like A Pro in Lightroom Classic. It will teach you a full end to end editing workflow that shows you what editing steps to take, and in what order! It will take away all of the guesswork and random slider pulling, and have you editing like a pro in no time.
Now, if you liked this tutorial, I’d REALLY appreciate it if you could share it around. Pin it to your boards on Pinterest, or share on Facebook or Twitter, or just link to the blog in general! Muchas gracias :-)


