
An edge grain cutting board is a simple project you can do in a short amount of time with low material cost. I love making them because they have great bang for the buck. Give them as gifts and people are amazed at how beautiful they are.
Want to learn how to make a wooden cutting board? The quick method we share below will show you how to make a cutting board that will last for years.
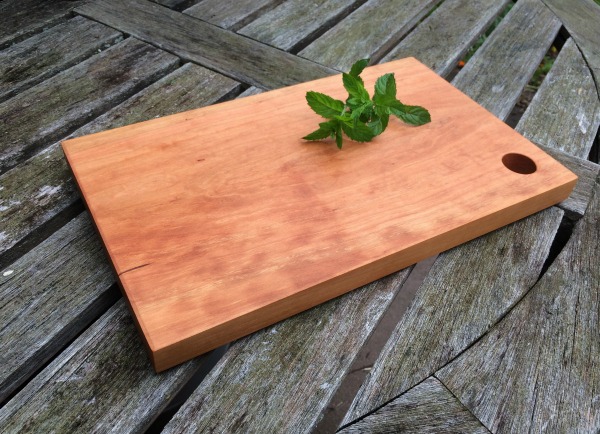 A simple cherry cutting board that lets the beauty of the wood come through.
There are lots of different styles of cutting boards, some simple and some quite complex. You can make them in just about any shape you want.
Dense hardwoods with closed grain are best because they hold up well to knife cuts and resist moisture. Maple and walnut are some of the best woods around. Cherry, though not as dense as maple and walnut, also works well. I had some cherry lying around, so that’s what I decided to use for this project.
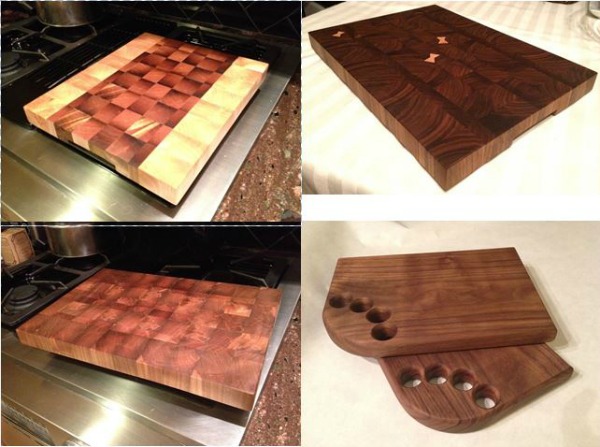 Some of the varieties of cutting boards I’ve made recently.
How to make a wooden cutting board
Step 1: Flatten the board first
The board I used was just over 8” wide, making it too wide to be flattened on my 6” wide jointer. After cutting the board to rough length for two cutting boards, I placed the board on top of my table saw, which is the flattest surface in my shop, to determine whether it was flat. This board was close but still rocked a bit when I pressed down on it. I used a block plane to remove a small amount of wood on either end and repeated until it sat solidly on the table.
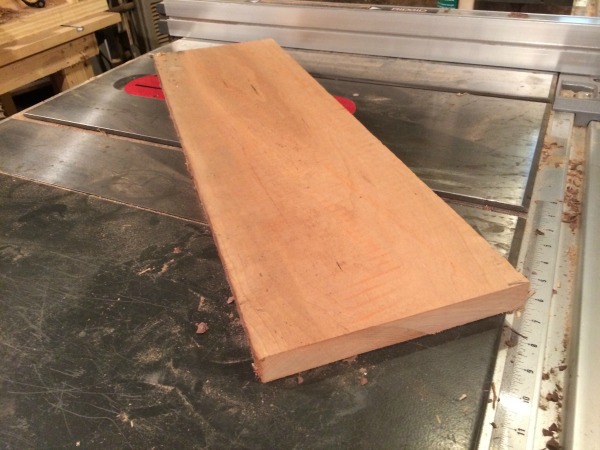 A cherry board ready to be flattened and planed.
Step 2: Plane, joint, rip and crosscut
With one face flat, I ran the board through my thickness planer, being careful to feed the board in the direction where the grain ran downhill so that the planer blades wouldn’t cause tear-out. This cutting board doesn’t have to be any particular thickness, so I just planed it until I had two parallel, smooth faces.
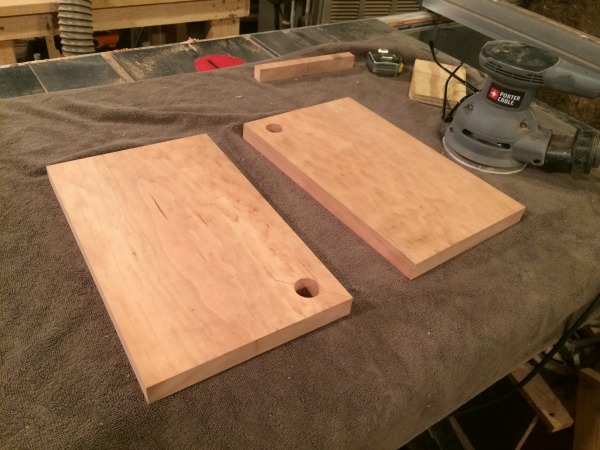
I jointed one edge and ripped the other on the table saw, taking off only enough to establish smooth parallel edges. Using a crosscut sled on the table saw, I established square ends then cut the boards to final length. Since the board was about 8” wide, I used the Golden Ratio to set the length at about 13”.
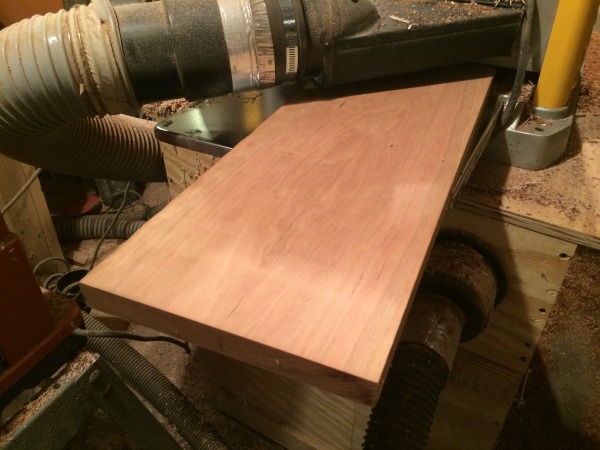 The board fresh from the thickness planer now has two flat, smooth, parallel faces.
Step 3: A hole for a handle
When using a cutting board, it helps to have some sort of handle to grip when lifting it. One option I like to use is simply drilling a hole in one of the corners. I drilled the hole in this board with a 1” Forstner bit.
Step 4: Sanding is the key
A cutting board with a glassy surface is a pleasure to use. Give this as a gift and I guarantee the recipient will demand to know how in the world you got it this smooth. (See my post on how to properly sand wood for more sanding tips.)
Since this board came out of the planer fairly smooth, I started with 150 grit paper using a random orbit sander. The randomness of the orbit prevents ruts from forming as the sander spins the paper. Each pass covers up the scratches from the previous pass, leaving a surface with no marks or spirals. After covering the entire board and all the edges with 150 grit, I switched to 220 grit and repeated the process. A spindle sander is great for sanding the inside of the hole, but you can also use sandpaper wrapped around a dowel.
 Use a random orbit sander for a surface free of spirals and scratch marks.
Step 5: Consider the edges
Anytime you make something that people will handle frequently, it’s important to make it user-friendly. That’s why I pay attention to the edges, which can actually be sharp.
There are lots of options for treating the edges of a cutting board. You could simply round them with sandpaper. Or you could use a router with a round-over or chamfer bit. I like to take off the corners with a block plane, holding it at a 45-degree angle and using the same number of passes for each edge to keep them consistent. The block plane approach makes a nicely faceted edge. It’s consistent but not completely perfect — a sign that the board was made by hand.
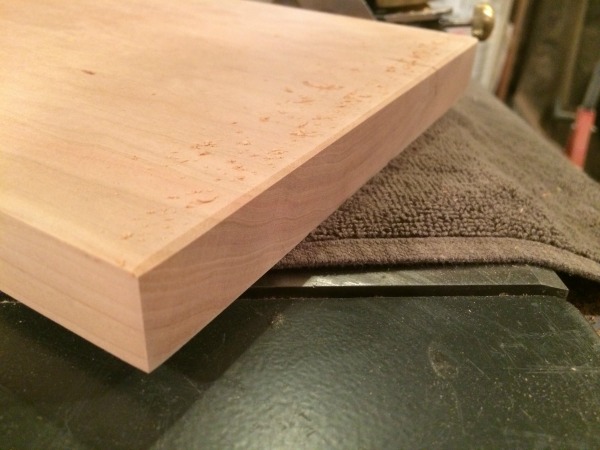 Using a block plane to relieve the corners gives the board a handmade look.
Step 6: Raise the grain
Wood fibers tend to swell and stand up when moisture is applied to them, leaving a rough or fuzzy feeling surface. Raising the grain makes the fibers stand up so that you can then sand them off, making the surface that much smoother.
With the whole board sanded to 220 grit, wipe the entire surface with a damp paper towel so the surface is wet but not flooded. You can also use denatured alcohol, which dries faster. Set the board aside until it is completely dry. At that point, sand the whole board again with 220 grit paper. You will notice a dramatic difference in the smoothness of the surface.
 Mineral oil is an easy finish to apply and works well for cutting boards.
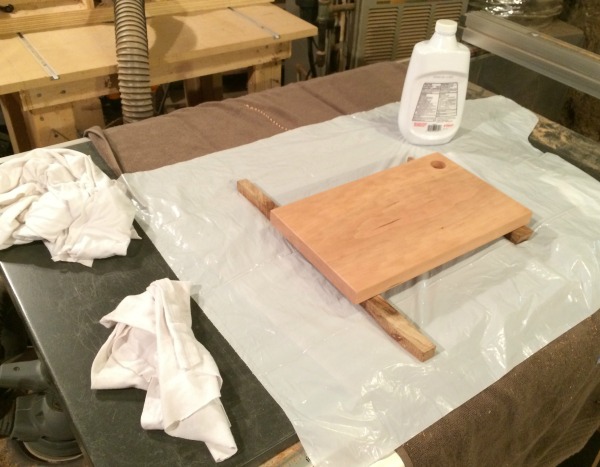
Step 7: Finish with food-grade mineral oil
To give the wood protection from water, finish it with food-grade mineral oil, which is available at grocery stores and pharmacies. Flood the surface with mineral oil, let it soak in for a few minutes, then wipe it off. Let it dry for a few hours or overnight and then repeat the process a couple more times. Some people make a “butter” using mineral oil and beeswax. There are also finishes you can buy for wooden utensils that would work well. I chose mineral oil because it is easy and it works. If the board appears to be drying out, just oil it again.
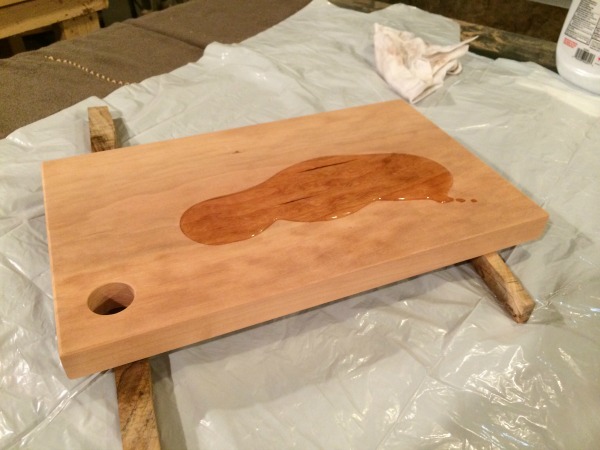 The oil makes the color and figure jump out.
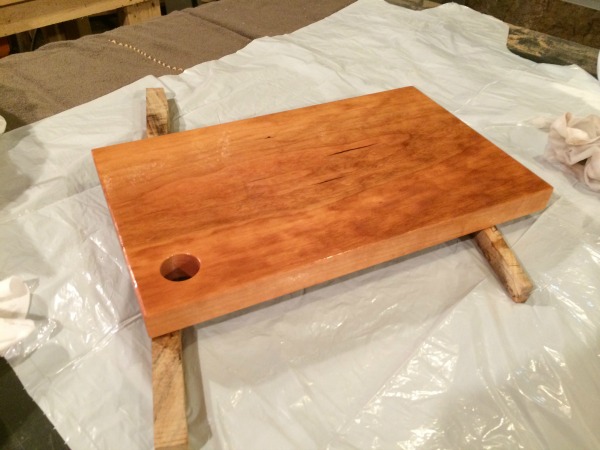 After the mineral oil soaks in a few minutes, wipe it dry with an old t-shirt and repeat the process several times.
I hope you enjoyed this tutorial on how to make a wooden cutting board. This fun project is about as simple as it gets but also so beautiful and practical. An edge grain board doesn’t require glue-ups the way end grain boards do. You could do any number of techniques to trick it out, but when the wood is as beautiful as this cherry, I mostly try to stay out of its way.
Thank you Sir
I enjoyed the way it was extremely easy to under stand. Thankyou