Saturday 18 July 2015

Science: Life Cycle of a Frog

We have a small pond in front of our house. Some tadpoles and frogs live there. Ar (2.5 years old) liked to observe some frogs jumping by the pond and some tadpoles swimming in the pond. It's time to introduce him about frog. it set a learning corner about frog. There were some charts on the walls, a book about tadpole, a felt board of a frog life cycle, and a diorama.

Here are some activities he did:

1. Sensory Play of the Frog Life Cycle
Before Ar played with the frog figurines, I read him a story about a tadpole every night. He could retell the story well on the sixth day. When he found a pond diorama, he named each tadpole and the frogs because he had known the frog life cycle from the storybook. Afterwards, he played with the water beads and take the tadpoles swim in the felt pool. He made a dialogue between the frogs and the tadpoles. 

2. Painting
3. Cutting Green paper and Pasting on the Frog Pattern


4. Working on a Frog Puzzle


5. Counting the frogs on the Sandpaper Numbers


Tuesday 7 July 2015

DIY-ATM


For you who ask for my cash register tutorials, I'm sorry I didn't take photos on the process. Here is my ATM which basically has the same concept as my cash register. I got perfect box from Step 2 but you can shape any box you have. I never use precise measurement because I usually paste and cut the decorative paper on the box. It's easier and faster.
1. Cut the sides of the box so that it looks like an ATM
2.Attach a piece of cardboard onto the back of silver paper. Leave some space before cutting it
3.Make sure you put something to block the money when your child is inserting it
4.  Attach the silver paper on the front side of the ATM. Fold and glue the side of the remaining 
space
5.Cover the side of the ATM with blue paper. You can change the colour as you like
6.

Attach black paper for the screen and some foam buttons. Don't forget to cut two lines for inserting the money and card


Bagi Anda yang meminta tutorial kasir, saya minta maaf karena tidak mengambil foto cara pembuatannya. Berikut adalah ATM saya yang pada dasarnya memiliki konsep yang sama seperti kasir pernah yang saya buat. Saya punya kotak Step 2 yang bentuknya sesuai dengan ATM , tetapi Anda juga bias membentuk sendiri kotak yang Anda miliki. Saya tidak pernah menggunakan pengukuran yang tepat karena saya biasanya hanya menempel dan memotong kertas hias pada kotak tanpa mengukurnya. Sangat mudah dan cepat!
1.
Potong sisi kotak sehingga terlihat seperti ATM
2.
Tempelkan sepotong kardus ke bagian belakang kertas perak. Sisakan  sedikit  bagia pinggir sebelum memotong
3.
  Pastikan Anda memasukkan sesuatu untuk memblokir uang ketika anak Anda memasukkannya
4.
Pasang kertas perak di sisi depan ATM . Lipat dan lem sisi kertas perak yang tersisa
5.
Tutupi sisi ATM dengan kertas biru. Anda dapat mengganti warna sesuai yang Anda inginkan
6.
Tempelkan kertas hitam untuk layar dan beberapa tombol yang terbuat dari busa. Jangan lupa untuk memotong dua baris untuk memasukkan uang dan kartu.


Sunday 17 May 2015

Science: Life Cycle of a Bee

Introduction:
I introduced the life cycle of a bee by giving him Safari Ltd figurines. I covered the figurines with playdoh and asked him to open it. this activity is good for his fine-motor skill and hand-eye coordination. Then he matched the figurines on the control card. it can be downloaded here. I shout out every phase of bee life cycle whenever he had discovered one. He repeated after me.


He molded the playdoh into circles and put the phases of the bee on the circles. He followed the pictures in the control card.


He wanted to put the figurines in order based on the control cards. He named each of the phase and applauded himself for his achievement.


The next invitation to play is inserting the cake-pop stick into the lid of a can. 
Materials:
a used-can (big size)
bee pictures and laminate them
cake-pop sticks
yellow paper
double tape

How to make:
paste the cake-pop sticks on the back of bee pictures using hot glue gun
draw hexagons on yellow paper
paste the yellow paper on the side of the can
put the materials on the tray

Purposes:
strengthen fingers, practice fine-motor skills, and hand-eye coordination.


This is one of his favorite activities. Though it looked hard for him, he didn't give up until the last sticks.

Cutting Activity
Another easy material to prepare is this scissor cutting activity. You just need to draw or print bee pictures on vertical pieces of paper and insert the cards in the small holes on the lid. I told my son that he had to cut the bees without hurting them so they can fly.


Bee pretend play costume was a hit. I drew a bee on a cardboard and sew a hairband for his antenna. he loved buzzing around the house.


Wooden Peg Activities. 
There are some various wooden peg activities to strengthen his hand grip and fine-motor skills.


Sticker Counting Activity
I am going to make free printable for this activity soon.


Monday 20 April 2015

Wooden Pegs Activities

Wooden pegs activities are useful to strengthen the children's fine-motor skills and improve children concentration and hand-eye coordination. It also strengthens hand muscles to prepare writing skill.


These activities can be done in some ways to make the children interested.

1. Colour Recognition. The children matched the gradation colour on the wooden pegs with colour chart.


2. Theme-Based Activity. In this activity below, the children are told a story that the bees are going to perch on the beehive so they have to help the bees by pinching the wooden pegs to the edge of a container.


3. Matching Numbers. The children have to match the numbers on the wooden pegs with the numbers on the beehive.


______________________________________________________________________

Kegiatan menggunakan jepitan kayu berguna untuk menguatkan motorik halus anak, meningkatkan konsetrasi dan meningkatkan koordinasi mata-tangan. Kegiatan ini juga berguna untuk menguatkan otot tangan yang nantinya digunakan untuk menulis.
Kegiatan ini dapat dilakukan dengan berbagai cara supaya menbuat anak-anak tertarik.

  1. Pengenalan Warna. Anak mencocokkan gradasi warna pada jepitan kayu dengan gambar urutan warna yang disediakan.
  2. Kegiatan Berdasarkan Tema. Anak mendengarkan cerita tentang lebah yang akan hinggap di sarangnya sehingga anak harus menolong lebah dengan menjepitkan jepitan kayu pada tepian wadah.
  3. Mencocokkan Angka.  Anak diminta untuk mencocokkan angka pada jepitan kayu dengan angka yang tertera dalam wadah.


LEGO MAZE

Create a lego friends maze for your children or the children can also assemble the lego themselves. 
I told my son a story about the animals in the zoo. One of them is lonely so that the other friends are going to visit him. The marble is intended to be the friend who is going to visit the lonely one.

This activity is good to improve children concentration, fine motor skills and hand-eye coordination. It also strengthens hand muscles to prepare writing skill.

______________________________________________________________________________


Buat lego FRIENDS maze untuk anak-anak Anda atau anak-anak juga dapat merakit lego itu sendiri.
Dalam permainan ini, saya membuat cerita tentang hewan-hewan di kebun binatang. Salah satu dari hewan tersebut kesepian sehingga teman-teman lain akan mengunjunginya. Kelereng diimajinasikan sebagai teman yang akan mengunjungi teman yang kesepian tersebut.

Kegiatan ini baik untuk meningkatkan konsentrasi anak, keterampilan motorik halus dan koordinasi tangan-mata. Dan yang tak kalah penting, untuk memperkuat otot tangan dalam mempersiapkan kemampuan menulis.

Sunday 19 April 2015

Science: Life Cycle of a Ladybug

Introduction to Ladybug Life Cycle:
One morning, Arya saw a ladybug on a leaf in our garden and he asked me about it. I directly grabbed a set of ladybug life cycle figurine from safari ltd and put them on the leaves. We were talking about the adult ladybug but he wanted to name the other figurines so I named them. He pointed at the right figurines when I called them out one by one. Then he jumped overjoyed when he could name the figurines. After that, he played and used his imagination to create a story of a ladybug.


Matching and Fine-Motor Skill Activities

Materials:
  1. put each of the figurine in a plastic egg
  2. put the plastic eggs randomly on the tray
  3. place a control card in a tray. The control card can be downloaded here.


Activities:
He has to open the plastic eggs – as a fine motor practice, take out each of the figurine and match it on the right picture in the control card.


Sensory Play
Sensory play is one of his favorite. What is sensory play? Sensory play is an activity that stimulates young children’s senses: touch, smell, taste, sight and hearing. Sensory activities and sensory tables provide exploration and encourage children to use scientific processes while they play, create, investigate and explore. Stimulating their senses helps children develop cognitively, linguistically, physically and creatively, socially and emotionally.


  1.  Water beads/ Hydrogel
Water crystal gel or Water Beads is any gel which contains a large amount of waterWater gel is usually composed of a water-absorbing polymer such as a polyacrylamide (frequently Poly(methyl acrylate) or Sodium polyacrylate). Sometimes referred to as super absorbent polymer (SAP) or, in dry form, as slush powder.


I provided a cup for transferring activity and scissor scoopers for practicing and building the muscles needed for scissor cutting.
It was his first time trying the scissor scoopers. He couldn't coordinate his fingers yet so he opened the scoopers and poured the water beads in it. However, he used his hand-eye coordination to transfer the water beads so that they did not spill.


2.  Light Table: Counting Ladybug Dots
Materials:
printed ladybug picture
magnetic chips
magnet
control cards (a set of cards which have different pictures of the ladybug dots)

Purpose:
basic counting
science: magnet

Activities:
place the magnetic chips on the ladybug’s wings based on the control cards or
take the chips from the ladybug’s wings by counting them one by one.


3.  A Variation of Light Box Activity
Put the ladybug in the geometric solids and the children will love the colors of the translucent solids. They can learn about shadows of the stages of ladybugs. 


Painting a Ladybug
I prepared a colouring sheet of a ladybug and asked Arya to paint it. He chose the colours himself and he just loved to spill all of the paint in the tray and brushed it.


Pretend Play
I made him this cardboard ladybug costume because he liked running and buzzing around the house as if he was a bee. I know I should have made a bee costume instead of a ladybug but I'll make him one for our bee-themed activities. He loves this ladybug costume, though. While running, he was looking for green things to perch. Then, he pretended to eat them as if they were leaves. This activity is called pretend play.


All of these ladybug-themed activities might take two weeks or a month because he just did the activities whenever he showed his interest in ladybug. Moreover, we could repeat the same activities on the other days. 

It's fun learning about ladybug, isn't it? You can also read some books about ladybugs.

__________________________________________________________________________


Pengenalan tentang Siklus Hidup Kepik:
Suatu hari, Arya melihat kepik pada selembar daun di kebun kami dan ia bertanya pada saya tentang binatang itu. Saya langsung mengambil satu set miniatur siklus hidup kepik buatan Safari Ltd dan menempatkan miniatur itu pada daun-daunan. Ketika kami sedang membahas tentang kumbang dewasa, Arya ingin mengetahui nama miniatur yang lain jadi saya menyebutkannya satu per satu. Kegiatan Arya selanjutkan adalah menunjukkan miniatur yang tepat ketika saya menyebutkan tiap-tiap siklus kepik. Kemudian dia melompat gembira ketika bisa menamai semua mainan tersebut. Setelah itu, ia membuat cerita tentang kepik dengan imajinasinya.


Mencocokan dan Kegiatan Motorik Kalus

Bahan yang perlu dipersiapkan:
1. masukkan miniatur siklus kepik ke dalam telur plastik
2. letakkan telur plastik secara acak ke dalam nampan
3. tempatkan kartu pengendali di dalam nampan. Kartu pengendali dapat di unduh di sini.

Aktivitas:
Anak harus membuka telur plastik - sebagai kegiatan motorik halus, mengambil masing-masing miniatur dan mencocokkannya pada gambar yang tepat dalam kartu pengendali. 


Permainan Indera
Pemainan indera adalah salah satu kegemaran anak saya. Apa itu permainan indera?  Permainan indera merupakan kegiatan yang merangsang indera anak-anak: sentuhan, penciuman, perabaan, penglihatan dan pendengaran. Permainan indera mendorong anak-anak untuk menggunakan proses ilmiah saat mereka bermain, menyelidiki, mengeksplorasi dan menciptakan. Merangsang indera mereka membantu anak-anak mengembangkan kognitif, bahasa, fisik dan kreatif, sosial dan emosional.


1.  Manik-Manik Air/ Hidrogel

Manik-Manik Air/ Hidrogel adalah setiap gel yang mengandung sejumlah air. Hidrogel biasanya terdiri dari polimer yang menyerap air seperti poliakrilamida (sering Poly (methyl acrylate) atau Sodium polyacrylate). Kadang-kadang disebut sebagai polimer superabsorben (SAP) atau dalam bentuk kering, bubuk lumpur (source: wikipedia).


Saya sediakan gelas untuk kegiatan memindahkan hidrogel dan gunting penyendok untuk melatih dan membentuk otot-otot yang diperlukan untuk memotong dengan gunting.
Ini adalah pertama kalinya Arya mencoba gunting penyendok. Dia belum bisa mengkoordinasikan jari-jarinya tetapi ia mencoba membuka gunting itu dan menuangkan hidrogel  didalamnya. Arya juga menggunakan koordinasi tangan-mata untuk memindahkan hidrogel supaya tidak tumpah.

2. Meja Lampu: Menghitung Kepik Dots
Bahan:
gambar kepik
chip magnetik
magnet
kartu pengontrol (satu set kartu yang memiliki gambar titik-titik yang berbeda di sayap kepik)

dasar berhitung 1-10
IPA: magnet

Aktivitas:
menempatkan chip magnetik pada sayap kumbang berdasarkan kartu pengendali atau
mengambil chip dari sayap kumbang dengan menghitungnya satu per satu.


3.  Variasi  Kegiatan Meja Lampu

Masukan kepik dalam bangun ruang transparan dan anak-anak akan menyukai warna transparan bangun ruang dan bayangan siklus hidup kepik. 


Mengecat Kepik
Saya sediakan gambar kepik dan Arya mengecatnya. Dia memilih warna sendiri dan lebih senang menuangkan cat ke dalam nampan dan menguasnya.


Bermain Peran
Saya membuatnya kardus kostum kepik ini karena Arya menyukai berlari dan mendengung di sekitar rumah seolah-olah ia adalah seekor lebah. Saya tahu seharusnya saya membuat kostum lebah bukan kumbang, makanya saya juga akan membuatkan kostum lebah. Arya senang sekali memakai kostum kepik ini. Ketika berlari, dia mencari benda-benda hijau seolah-olah daun untuk hinggap. Kemudian, ia pura-pura makan daun-daun tersebut. Kegiatan ini disebut bermain pura-pura.


Semua kegiatan bertema kepik ini mungkin memakan waktu dua minggu atau sebulan karena Arya hanya melakukan kegiatan setiap kali dia menunjukkan minatnya dengan kepik. Selain itu, dia bisa mengulangi kegiatan yang sama pada hari-hari lainnya.


Bukankah belajar sambil bermain tentang kepik sangat menyenangkan? Anda juga dapat membacakan anak beberapa buku tentang kepik.

SELAMAT BERMAIN.


Friday 17 April 2015

Pretend Play: Bakery


SALILATOS BAKERY

Ar named the bakery himself. Salilatos is taken from the words Sali Loti dan Chacalatos.

There are some kinds of cake you can have:
1. Black forest
2. Cheese cake
3. Orange cake
4. Choco cake
5. Toast
6. Pancake

Choose your own topping: choco sticks, oranges, strawberries, blueberries, kiwi fruits, cherries. 


DELIVERY SERVICE

Receiving, preparing and delivering order. Psstt, it's a serious work!

Thursday 16 April 2015

DIY: One Hundred Board


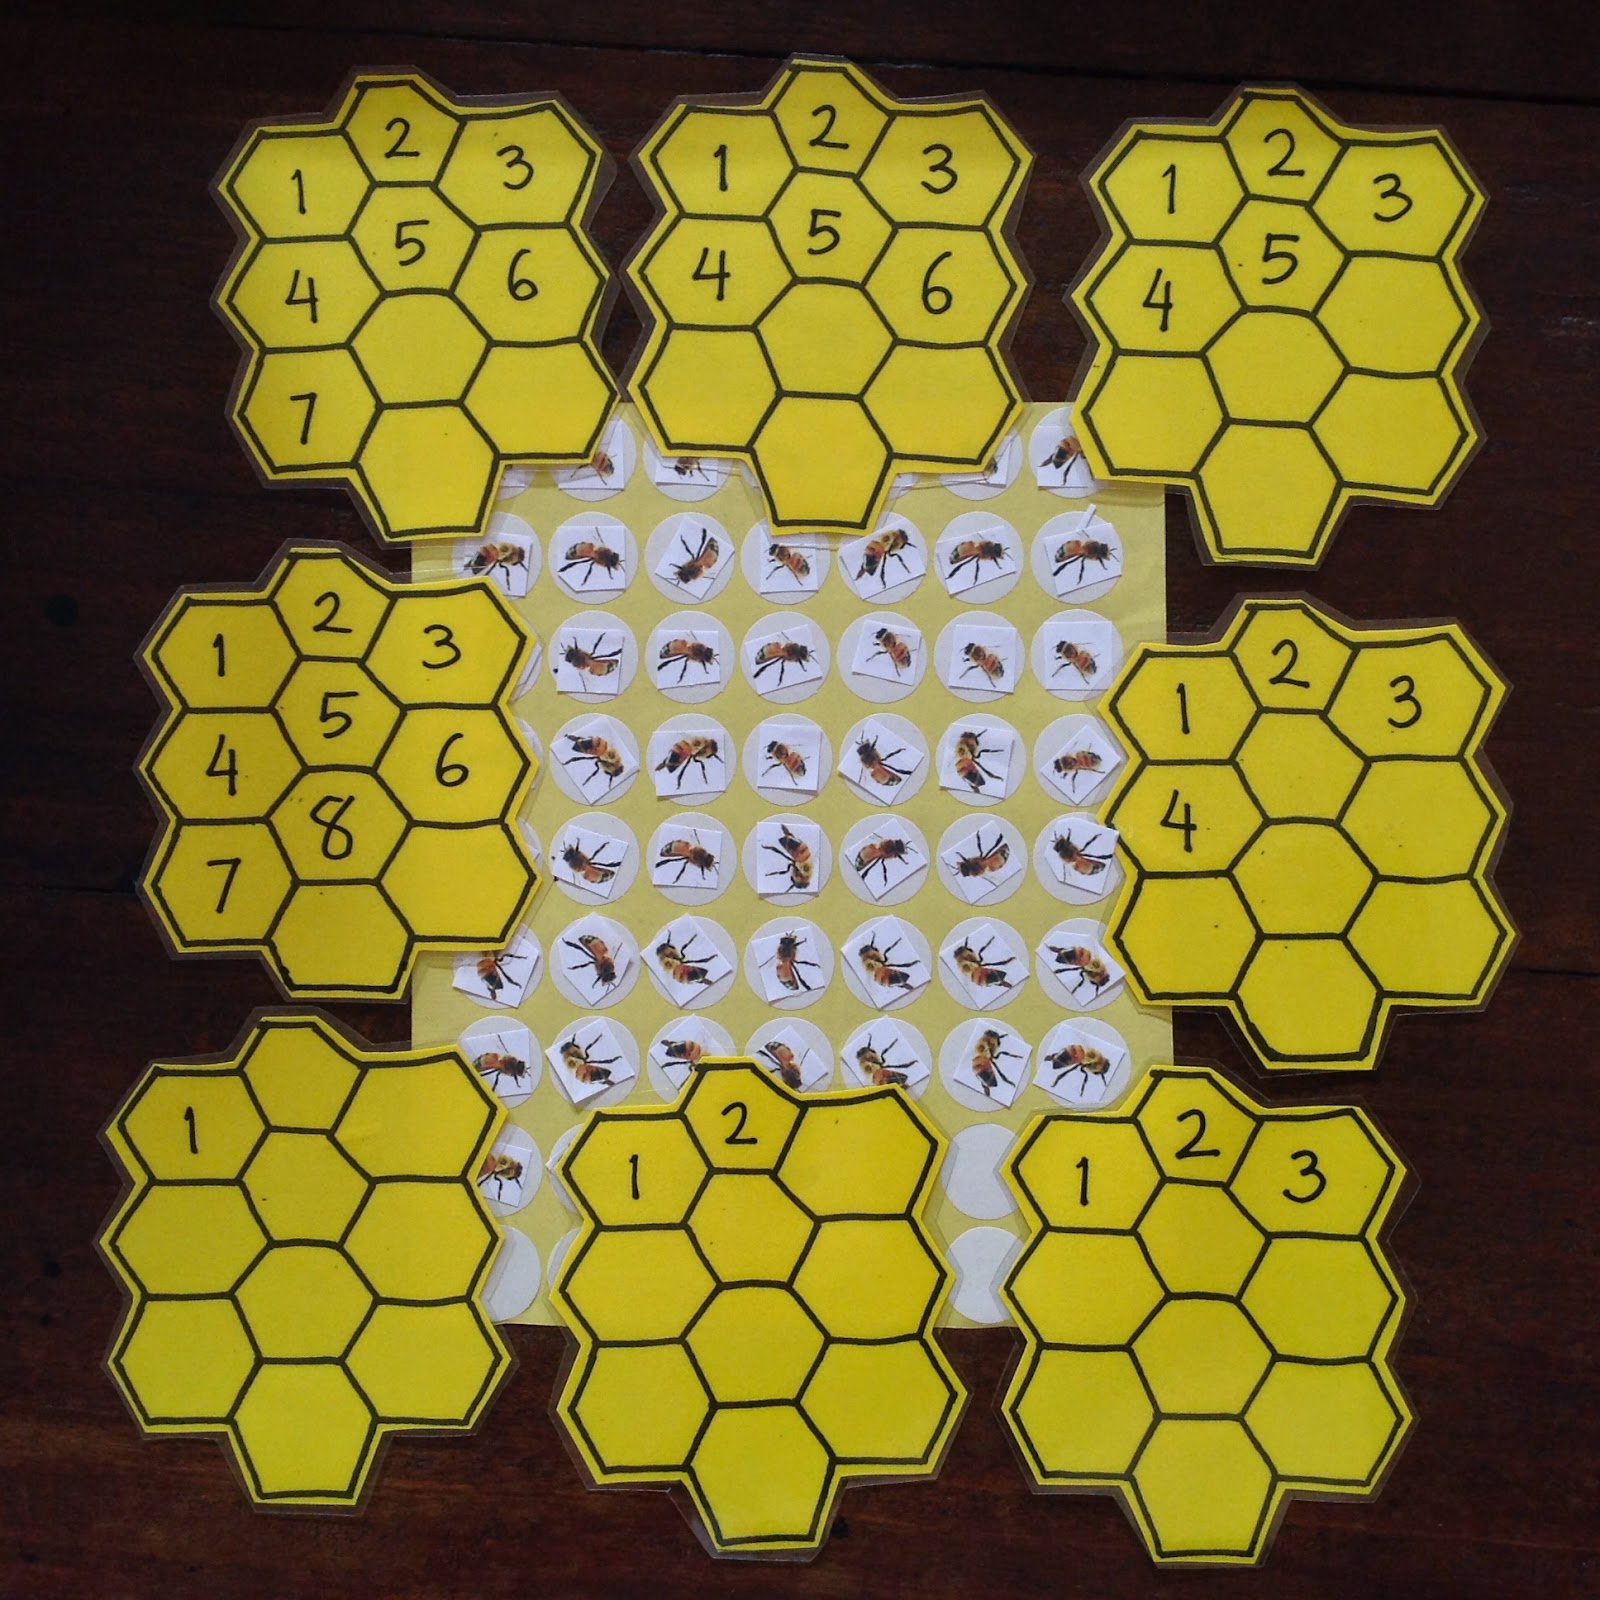
One hundred board consists of a grid board and 1-100 number tiles. This apparatus is used to order number 1-100 after the children have mastered the association of beads and cards.

My son is not interested in hundred board yet because the tiles are to small for his fingers, therefore I made my own hundred board made of felt and cardboard. Here is the tutorial of my DIY Hundred Board.

Materials:
Blue felt, 3x3 cm printed number 1-100, cardboard, velcro, hot glue gun

Steps:
1. Draw lines on the blue felt to make 10 x 10 grids. Each grid is 3 cm.
2. Sew the lines with white thread.
3. Cut printed numbers.
4. Attach it on the cardboard and cut.
5. Glue a piece of velcro on each tile.
6. Hundred board is ready.


We can write the numbers on the board so that the children can match the tiles and the numbers on the felt. This means you should provide two boards, one with the numbers and one without the numbers or you can use the other side of the blue board.


_________________________________________________________________________________


Papan Seratus  terdiri dari papan bergaris dan 1-100 keping angka. Alat ini digunakan untuk mengurutkan angka 1-100 setelah anak-anak telah menguasai hubungan manik-manik dan kartu.

Anak saya belum tertarik pada  papan seratus karena kepingan angka terlalu kecil untuk jari-jarinya, karena itu saya membuat sendiri papan seratus yang terbuat dari kain flanel dan kardus. Berikut adalah panduan membuat papan seratus.

Bahan Bahan:
Kain flanel Biru, 3x3 cm keping kardus dan ditulisi angka 1-100, kardus, velcro, lem panas

Langkah-langkah:
1. Menarik garis di kain flanel biru dengan  membuat 10 x 10 grid. Setiap grid 3 cm.
2. Jahit garis dengan benang putih.
3. Gunting angka yang telah di print.
4. Tempelkan pada kardus dan potong.
5. Lem sepotong velcro pada setiap kepingan.
6. Papan seratus siap dipakai


Kita bisa menulis angka di papan sehingga anak-anak dapat mencocokkan  kepingan dari angka-angka pada merasa. Ini berarti Anda harus menyediakan dua papan, satu dengan angka dan satu tanpa nomor atau Anda dapat menggunakan sisi lain dari papan biru.